
Look and think before opening the shutter. The heart and mind are the true lens of the camera.
Yousuf Karsh
Early attempts with an old tin.

Big Wheel North Pier
My early attempts at pinhole photography followed the path of many others and was based on using various tins loaded with paper or sometimes 5x4 sheet film. This meant reloading the camera on location by means of the old film changing bag which was always great fun and led to strange looks from passers-by. The small brightly coloured round tin always looked funny mounted on top of my large Benbo tripod too! One aspect of the round tin that I really liked was the distortion caused by the curved film plane and this was a design I have returned to in my teaching. I can remember being taught how to load daylight developing tanks in college. Once you had your hands in the black bag and had opened the film cassette you were committed and any stuudents who encountered problems were in there for ages, while other students brought them food and drinks! The camera did work well and produced interesting results, but after a short time it was obvious that I needed to look for an alternative camera design which could be pre-loaded and switched to my old 5x4 MPP field camera.
Zone Plates

At a fairly early stage I began using zone plates on my camera. They were purchased from the Pinhole Resource Centre in San Lorenzo New Mexico. The theory of the zone plate goes back many years to Lord Rayleigh, and use diffraction to focus the image on the film plane. Basically the design of the zone plate target of concentric rings of black and white is copied onto 35mm high contrast film and reduced to the scale you can see in the image. They give a unique soft look to the images and are slightly faster than a similar pinhole. For some images the look is perfect, and for the current series I am shooting in Blackpool I think it is particularly suited.
MPP 5x4.

MPP 5x4
I made several different prototype camera designs which would accept a 5x4 film holder that could be pre-loaded, before deciding to simply make a new lens board for my old MPP. This accepted the pinhole or the zone plate which I had now started to use, and allowed me to be able to take advantage of the adjustments and features of the MPP body. Composition was possible using a dark cloth and there is something special about using 5x4 which seems to suit the pace of pinhole work, the only drawback was the cost of 5x4 film and processing.

Sennen Churchyard
One memorable pair of images (above) that I took with this camera on a trip down to Cornwall turned out to present something of a mystery. Just a few miles before Land’s End, I stopped the car at a church in the village of Sennen when I spotted an old graveyard with a lovely Celtic cross on one of the graves. It was a bright day with just a few clouds in the sky and I quickly set up my tripod and MPP and took a light reading. For those who haven’t used 5x4, the film holders hold two sheets of film and you would normally expose both sheets of the same subject. Back at the lab you would process one sheet and assess the exposure. This allowed you to adjust the development time for the second sheet to produce the perfect result if any slight correction was needed. I was using the 120mm F80 zone plate on that camera with Fuji velvia 5x4 film at 50 ISO, and the light reading gave me an exposure of 4 seconds, allowing for reciprocity I rounded this up to 5 seconds. Exposing both sheets took seconds, so in theory nothing should change between the two exposures. When both sheets were processed there was an indistinct cloudy shape which had moved between exposures! Some time later I took the original 5x4 slides to the National Museum of Photography Film and Television where ironically they were preparing for an exhibition called The Unexplained. The curators of the exhibition were able to offer a specialised opinion of what might have caused the imaged on the pictures and were able to rule out reflections and film or processing faults and suggested if I had given them the images earlier I could easily have been included in their exhibition! If anyone can offer suggestions I would be most grateful. I have no pre-conceived ideas myself, but there was nothing to see on the day and it remains a great mystery!
Mamiya Press
The next stage in my search for the perfect camera for my pinhole work took me predictably to 120 roll film. I was looking for a camera that could be customised, and found an old Mamiya Press with a detachable roll film holder that produced images of 6x9 format. It was quite a good compromise having a viewfinder to help with composition and a good sized format giving 9 shots on a 120 roll. Not a bad compromise of quality and ease of use, although a little heavy for travelling around. A couple of the images I took of a travelling Fair in Chester (right) using this camera were published in the well- respected Pinhole Journal produced by the Pinhole Resource Centre in Alberquerque New Mexico by Eric Renner and Nancy Spencer, followed soon after by a mention in Darkroom User produced by Ed Buziak. The images were taken using the zone plate which had now become my standard technique and the focal length of the Mamiya was adjusted to take the zone plate I was using at that time which was the 120mm F80.
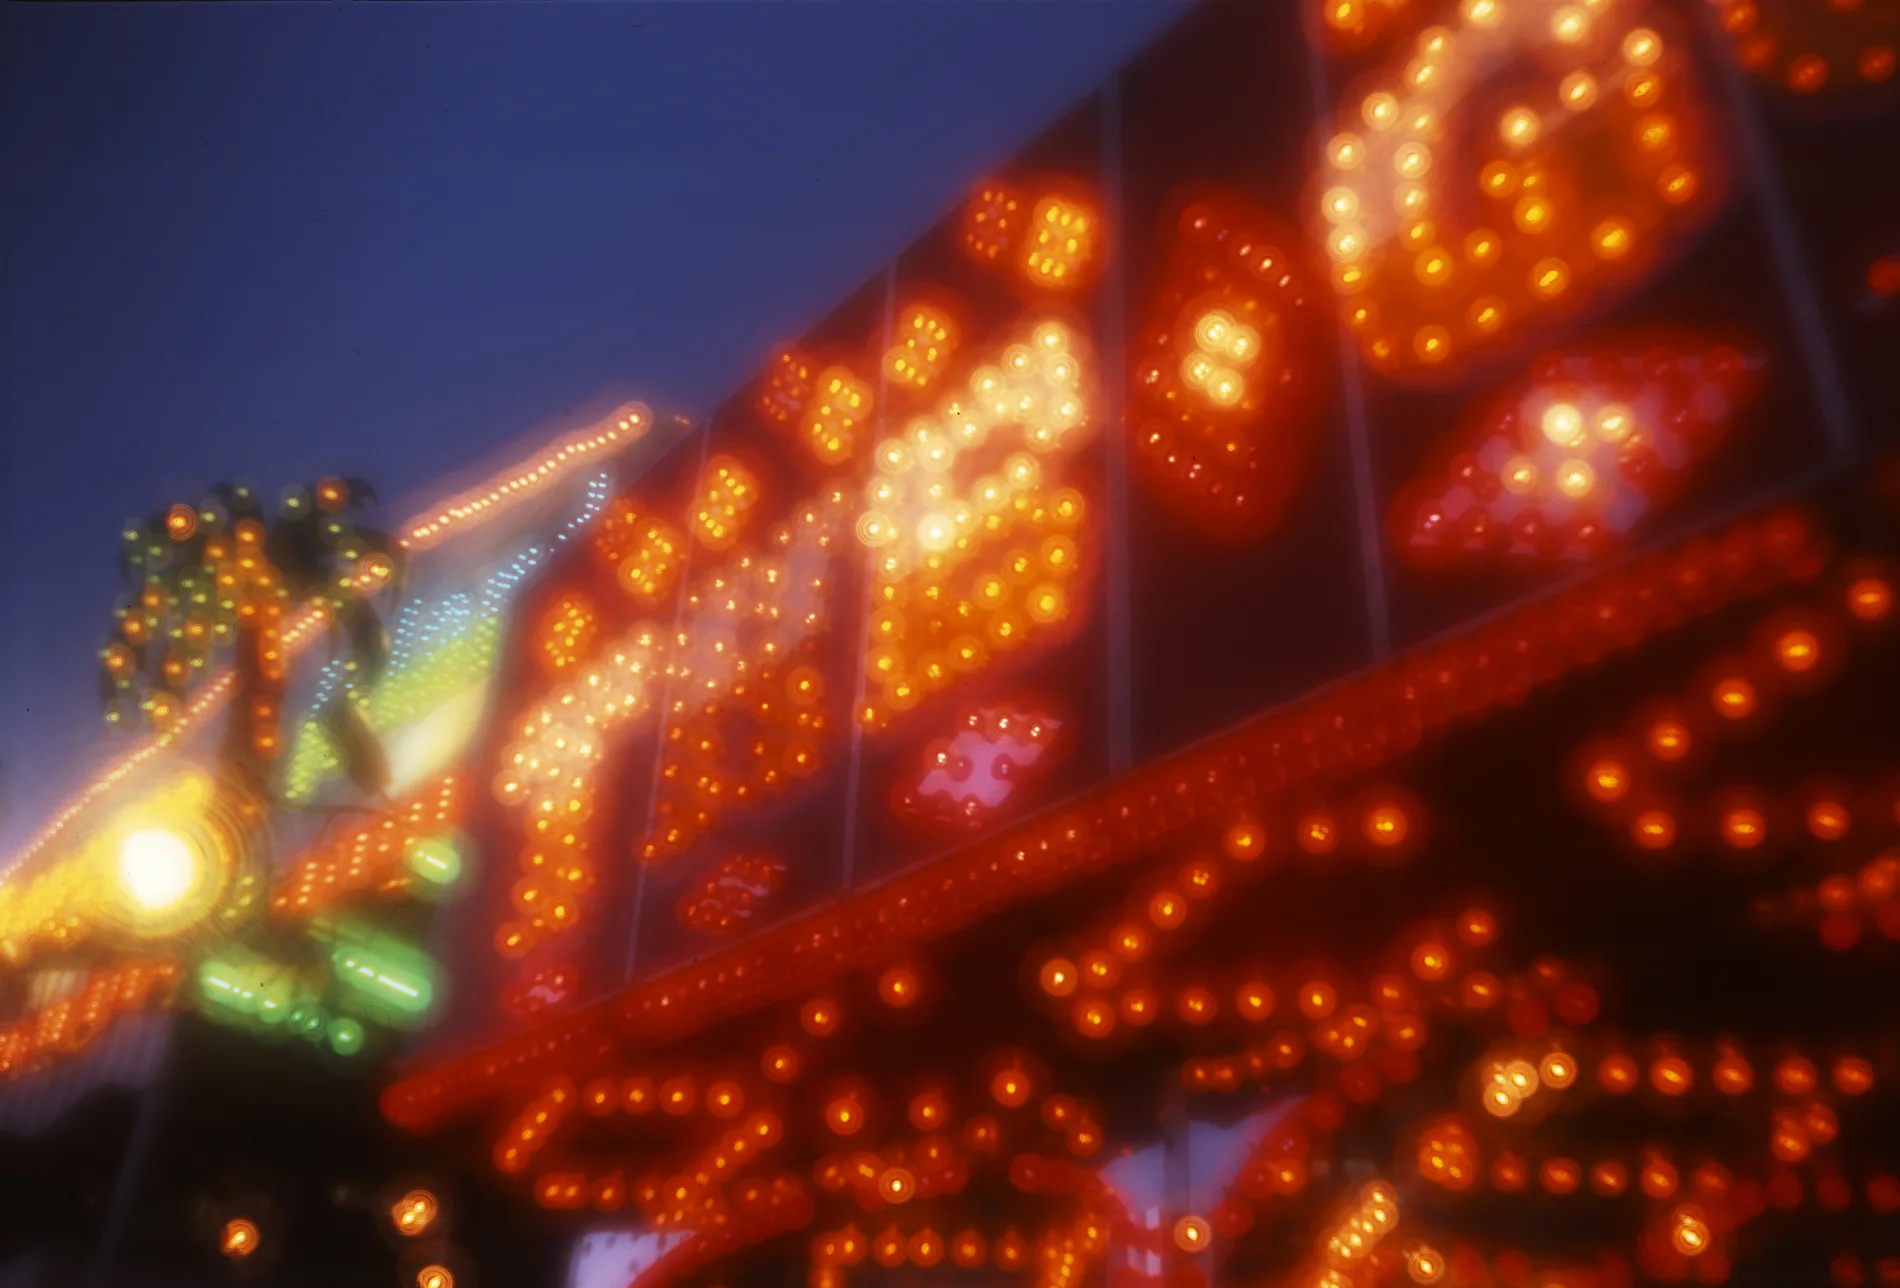
Travelling Fair, Chester
I visited a travelling fair in Chester and thought the vivid lights worked well against the magic hour background lighting. Exposures were a challenge, especially when using transparency film but I calculated the exposure, which proved to be pretty much bang on. The theme of fairground lighting and other forms such as neon against various ‘magic hour’ skies has been something I have been attracted to for some time and working on these various themes over the years you begin the question where these recurring images originate. In my own case I was able to identify several occasions where these particular scenes originated. I imagine that the early visits to Blackpool planted the seed but on my first visit to America in 1976 I remember one particular moment pulling up outside a diner at traffic lights, and seeing the wonderful neon sign set against the magnificent sunset. It was something about the contrasting man made ‘chemical’ spectrum of neon colours against the infinite range of the magnificent natural sunset. This has often appeared in my work and I find it fascinating to analyse where these influences come from. The more I reflect, the more missing pieces of the visual influences jigsaw fall into place. If you look hard enough they are there somewhere in your past. The closest I have seen to the vivid images from those day was the film Funny Bones which offers a surreal view of Blackpool at its peak.
Lubitel Twin Lens
I think there is a frustrated designer somewhere inside me that loves to tinker with things like custom camera designs. Some people start off with a simple tin or something and seem to be able to stick with that, I on the other hand have gone through many different generations of cameras looking for the ideal camera for my needs. One of the first I tried was a 120 twin lens reflex Lubitel, which I have to say, has been the easiest and most successful of the format types to work with. The removal of the lower lens assembly takes seconds if you know what you are doing, and it is quite simply a matter of replacing the lower lens with a thin disc of aluminium sheet to accommodate the zone plate or pinhole that you want to use. The camera is otherwise unchanged. The film holder and wind-on mechanism are unchanged, the top lens which is of course the viewfinder work perfectly, and for those who like a square format it is the ideal solution. It is small to carry around and comes with the tripod screw on the base for mounting on a support. I even mounted a pair in tandem once to shoot stereo! The only issue for me was however the format. Some photographers love the square format, but I have always preferred the wider panoramic format, and so this took me one stage further to making my own cameras…. with a little help from Mr. Kodak.
Boot Sale Box Brownie 'donor' cameras.
As the designs of my cameras were refined with this design, for the first time it was possible to take my pinhole on holidays abroad so from this point onwards the first thing in my suitcase was the camera and a specially built lightweight tripod.
The first idea for this style of camera came from this desire to make my own cameras from scratch but lacking an engineering background or well-equipped workshop I have had to manage with hand tools and a shed. I used to collect old cameras and was always fascinated by the simple design of those old marvels. The spring operated shutters and wind on mechanisms were wonderful examples of simple designs. Looking at these old roll film cameras gave me the idea to take what I call the guts of a 120 format Box Brownie and customise them to give 6x12 format rather than 6x6 using very thin ply (recycled wooden fruit boxes from the farm shop) to hold them in this position. I could also recycle other parts of the donor camera such as tripod mount and film advance knobs to use on the newly constructed, and slightly larger, new case. I have stayed with this method of construction ever since. The only changes I have made have been to reduce the weight and slightly improve the efficiency of the designs. I am now on my fourth generation and will probably stick with this one for some time as it works well and I really like the 6x12 format. Most of my work has been produced using this design so I have a number of images as examples.

As you can see from the image above, the latest of my designs has become quite a sophisticated beast. One feature I have found very useful is the small dark slide I fixed to the front of the camera body to allow filters to be changed on the go and allows me to take meter readings through the filter I am using for greater accuracy. This body also has a curved film plane to ensure a more even exposure across the frame. I still use an old 52mm skylight filter with the glass removed and glued to the front of the body to attach additional filters such as Polarising or ND as well as attaching the lens cap.
Simple sight lines help framing and a tripod thread, also recovered from the donor Brownie, is glued to the plywood base. The red window in the back allows accurate film advance. The roll of 120 film shows the scale of the camera, which is the smallest and lightest I have built to date.
The last time I used the newest camera I suffered an intermittent light leak problem on the right end of the image which had to be fixed, so that was my first job. Armed with a small torch I took the camera into a darkened garage. Placing the torch inside the body it didn’t take long to find a tiny hole at the top right hand corner of the body where the aluminium had been folded….(not forgetting the camera image was upside down when it took the pictures). I sealed all four corners with an epoxy with a little black pigment mixed in. One test film later and the problem was solved.
Otherwise it is pretty straightforward. Simple sight lines help framing and a tripod thread, also recovered from the donor Brownie, is fitted to base. The red window in the back allows accurate film advance. The roll of 120 film shows the scale of the camera, which is the smallest and lightest I have built to date.